Background
Three years ago, I have written the tutorial of building my website using Hugo, Staticman, Travis, and Heroku.
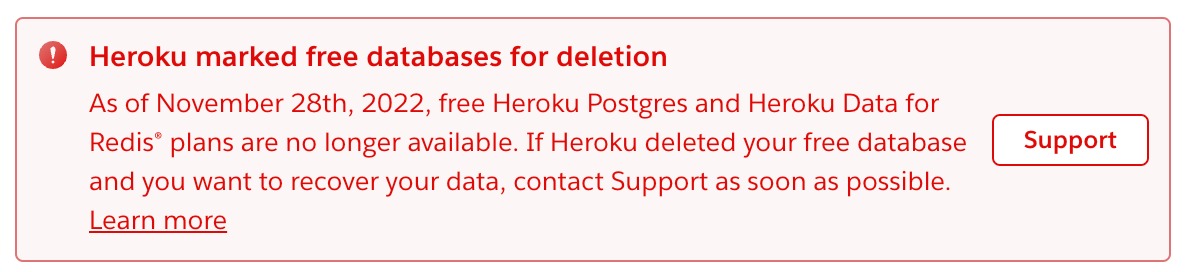
However, Travis and Heroku is not free any more.
So, I searched online and figured out the alternatives: Github Action and Render (more alternatives here).
Github Action for auto-deploying blog
If you only care about adding staticman, you can skip this section. This section introduces how to use Github Action.
Sarah Gibson’s text and video tutorial is really helpful. I have followed the steps and rereated my website.
Note that if you use your customed domain instead of <usename>.github.io, you need to add cname to the deploy script:
      - name: Deploy to GitHub Pages
        if: github.event_name == 'push' && github.ref == 'refs/heads/main'
        uses: peaceiris/actions-gh-pages@v3
        with:
          github_token: ${{ secrets.GITHUB_TOKEN }}
          publish_dir: ./public
          cname: <your_domain_name>
For the theme submodule, you may need to update them after clone your website repo:
git submodule update --init --recursive
git submodule update --recursive --remote
Self-hosted staticman
I used to set the staticman deployed on Heroku as my comment system (see the old post). However, Heroku is not free anymore. So, I wanna find a self-hosted method to make sure the comment system will always work in the future.
Fortunately, I found Jordan’s 2020 tutorial, Gabe’s 2019 tutorial, and related Github issue. It is nice to learn how to set self-hosted staticman. I will follow Jordan’s tutorial which use the AWS Lambda (1 million requests free per month).
Here are my steps to reproduce his case.
Set the serverless framework
Install serverless framework and initialize the project locally.
$ sudo apt install npm
$ sudo npm install -g serverless

$ serverless create --template aws-nodejs --path static-comments
✔ Project successfully created in "static-comments" from "aws-nodejs" template (7s)

$ cd static-comments

$ tree -a
.
├── .gitignore
├── handler.js
└── serverless.yml

$ git init
$ rm handler.js
$ git submodule add https://github.com/eduardoboucas/staticman.git staticman
$ mkdir app &&   cd app
$ npm init -y

$ npm i -s serverless-http
$ touch index.js
Add the following contents to index.js:
const serverless = require("serverless-http");

let api;
try {
  const StaticmanAPI = require("../staticman/server");
  api = new StaticmanAPI();
} catch (e) {
  console.error(e);
  process.exit(1);
}

module.exports.handler = serverless(api.server);
Edit the serverless.yml file under static-comments:
service: static-comments
frameworkVersion: "3"

provider:
  name: aws
  runtime: nodejs12.x
  region: us-east-2
  stage: ${opt:stage, 'dev'}
  apiGateway:
    shouldStartNameWithService: true

functions:
  app:
    handler: app/index.handler
    events:
      - http:
          path: /
          method: ANY
          cors: true
      - http:
          path: /{proxy+}
          method: ANY
          cors: true
    environment:
      GITHUB_TOKEN: ${env:STATICMAN_GITHUB_TOKEN}
      RSA_PRIVATE_KEY: ${env:STATICMAN_RSA_PRIVATE_KEY}
GITHUB_TOKEN is a personal access token from a GitHub account that has repo permissions on the blog repository. We can create a robot account like below and set it in the repo’s Settings later.
- Register a new GitHub account to run your Staticman bot and create a personal access token for this new account.
- From your main GitHub account, send your bot a collaboration invite, but please not accept it manually. We will let staticman accept it, otherwise it will raise error.
RSA_PRIVATE_KEY is a private key, we can create one like this:
openssl genrsa | tr -d '\n'
We will set these two variables in the next step.
Deploying to AWS Lambda
Add a file named deploy.yaml under .github/workflows to let Github deploy it automatically.
# ~/static-comments/.github/workflows/deploy.yaml
name: Deploy to AWS Lambda

on:
  push:
    branches:
      - main

jobs:
  deploy:
    name: deploy
    runs-on: ubuntu-latest
    steps:
      - uses: actions/checkout@v2
        with:
          submodules: true
      - name: Install serverless
        run: sudo npm install -g serverless@3.25.1
      - name: Config credentials
        env:
          AWS_ACCESS_KEY_ID: ${{ secrets.AWS_ACCESS_KEY_ID }}
          AWS_SECRET_ACCESS_KEY: ${{ secrets.AWS_SECRET_ACCESS_KEY }}
        run: serverless config credentials --provider aws --key ${AWS_ACCESS_KEY_ID} --secret ${AWS_SECRET_ACCESS_KEY}
      - name: Install node_modules
        run: |
          cd app && npm install && cd ..
          cd staticman && npm install && cd ..
      - name: Deploy
        env:
          STATICMAN_GITHUB_TOKEN: ${{ secrets.STATICMAN_GITHUB_TOKEN}}
          STATICMAN_RSA_PRIVATE_KEY: ${{ secrets.STATICMAN_RSA_PRIVATE_KEY}}
        run: serverless deploy --stage prod --verbose
Go to AWS and add new user with administrator following this tutorial.
OK. Let’s set the secrects following this Github tutorial:
AWS_ACCESS_KEY_ID: the ID from AWS account aboveAWS_SECRET_ACCESS_KEY: the key from AWS account aboveSTATICMAN_GITHUB_TOKEN: the token of robot accountSTATICMAN_RSA_PRIVATE_KEY: the RSA private key generated before
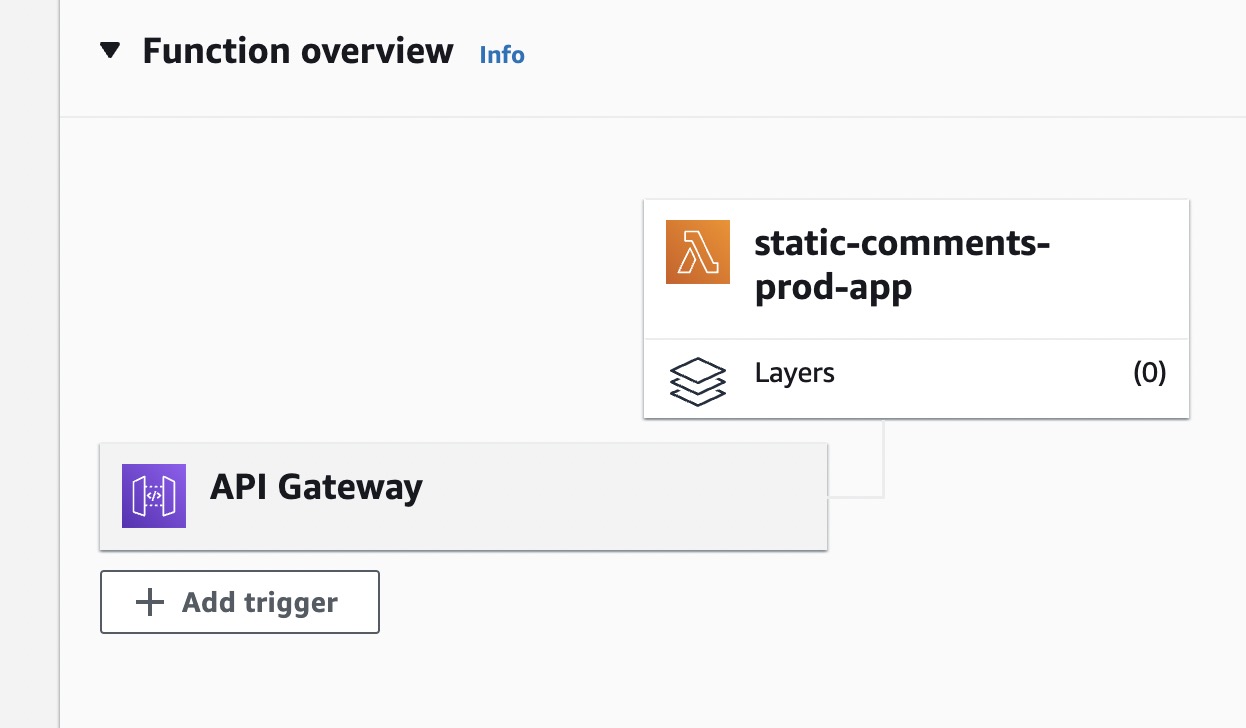
Then, push these codes to robot’s repository and check your AWS dashboard (note that you need to choose the region which set in serverless.yml). You should see the function is deployed successfully:

Add staticman to blog
Staticman endpoint
I have asked chatGPT how to get the endpoint of our staticman server. Here’s the answer:
To get the Staticman API endpoint for your AWS Lambda function, you can do the following:
Go to the AWS Lambda dashboard in the AWS Management Console.
Locate your Staticman function in the list of functions and click on it.
In the function’s details page, click on the “API Gateway” trigger in the “Designer” section.
This will open the API Gateway dashboard, which shows the endpoint for your function. The endpoint will be in the form of a URL, such as
https://abc123.execute-api.us-east-1.amazonaws.com/prod/staticman.Copy the endpoint URL and use it as the value for the
staticmanUrlparameter in yourconfig.tomlfile.
Well, that’s true! I found my API Gateway like https://***.execute-api.us-east-2.amazonaws.com/prod. You can visit your API Gateway in browser and you should see Hello from Staticman version 3.0.0!.
Now we’re ready, it’s time to accept the bot as explained by flyinggrizzly:
programmatically accept that invite by hitting the Staticman API’s
connectendpoint:https://[your-staticman-url]/v2/connect/[your-main-github-username]/[your-site-repo]. You will seeOK!in your browser.if you see “Invitation not found”, either your user isn’t set up, in the app (check the token), you haven’t invited it to collaborate on the repo, or you already accepted the invite manually (this threw me way off).
Configure theme
For my theme, I just need to edit the config.toml like this:
[params.staticman]
  endpoint = "https://<your_aws_api_above>/v2/entry"
Actually, I also tried version 3 with GitHub App by setting three variables like this issue.
However, I failed … If you figure out how to deploy staticman v3, please leave your comments!
Note that the endpoint of version 3 is https://<your_aws_api_above>/v3/entry/github, because v3 supports both Github and Gitlab.
Add recaptcha
Version control
| Version | Action | Time |
|---|---|---|
| 1.0 | Init | 2022-12-21 |
| 1.1 | Add the part of setting up own staticman | 2022-12-22 |
Say something
Thank you
Your comment has been submitted and will be published once it has been approved.
OOPS!
Your comment has not been submitted. Please go back and try again. Thank You!
If this error persists, please open an issue by clicking here.